
An important but often overlooked part of miniature wargaming is the terrain. If you spend countless hours painting and perfecting your models, why not spend at least a fraction of that time on the board on which you will be playing? Well, cost would be a big reason. If you are a Warhammer or Warhammer 40K player, those realm of battle boards from Games Workshop are very nice but very pricey. I admit they are also awesome looking but I took it upon myself to save some money and make my own board. I liked saving the money to put towards smaller terrain pieces and models and I also liked the idea of having a one-of-a-kind custom board that I made myself. It was easy, and you can do it too.


Overview:
If you don’t have the time to make a board like above, a battle mat is also a good solution. Battle mats from Table War aka F.A.T. Mats are a great place to start looking but there are a ton of companies making mats these days and you will have lots of options. Mats are way more portable too since they roll up. Portability (and storage space) is a big reason why I chose to make a board that is modular.
The board I made is comprised of 6 sections of 2’x2′ MDF to create a 4’x6′ board for Warhammer 40K but this concept could be used for other games and other sizes. The trick is to plan ahead and make sure any roads, rivers, hills, or plateaus can be created in multiple configurations. I really debated using just 3 sections of 2’x4′ MDF board. I think I will do that for my next board. Less sections mean less seams.
If you hate the seems, have plenty of space to store it, and don’t need it to be modular then definitely just make one big board. Then use scatter terrain to customize the space and add variety.
For example, I recommend starting with a plateau in the middle with the option to rearrange the tiles, moving the plateau sections to the edges or on four corners. This will give you some good options for setting it up in different scenarios.

What you’ll need:
The main component is MDF wood. Now you can use other types of wood but MDF is dirt cheap and we are trying to save money here so that’s my recommendation. Home Depot had 2’x2′ sections for about $3 a piece.
Next you’ll need plaster or caulk. I used both actually since I ran out of plaster. Just regular white acrylic latex caulk will work. Its $1-2 a tube but you’ll go through a lot of this. I would get at least 6 for a full board.

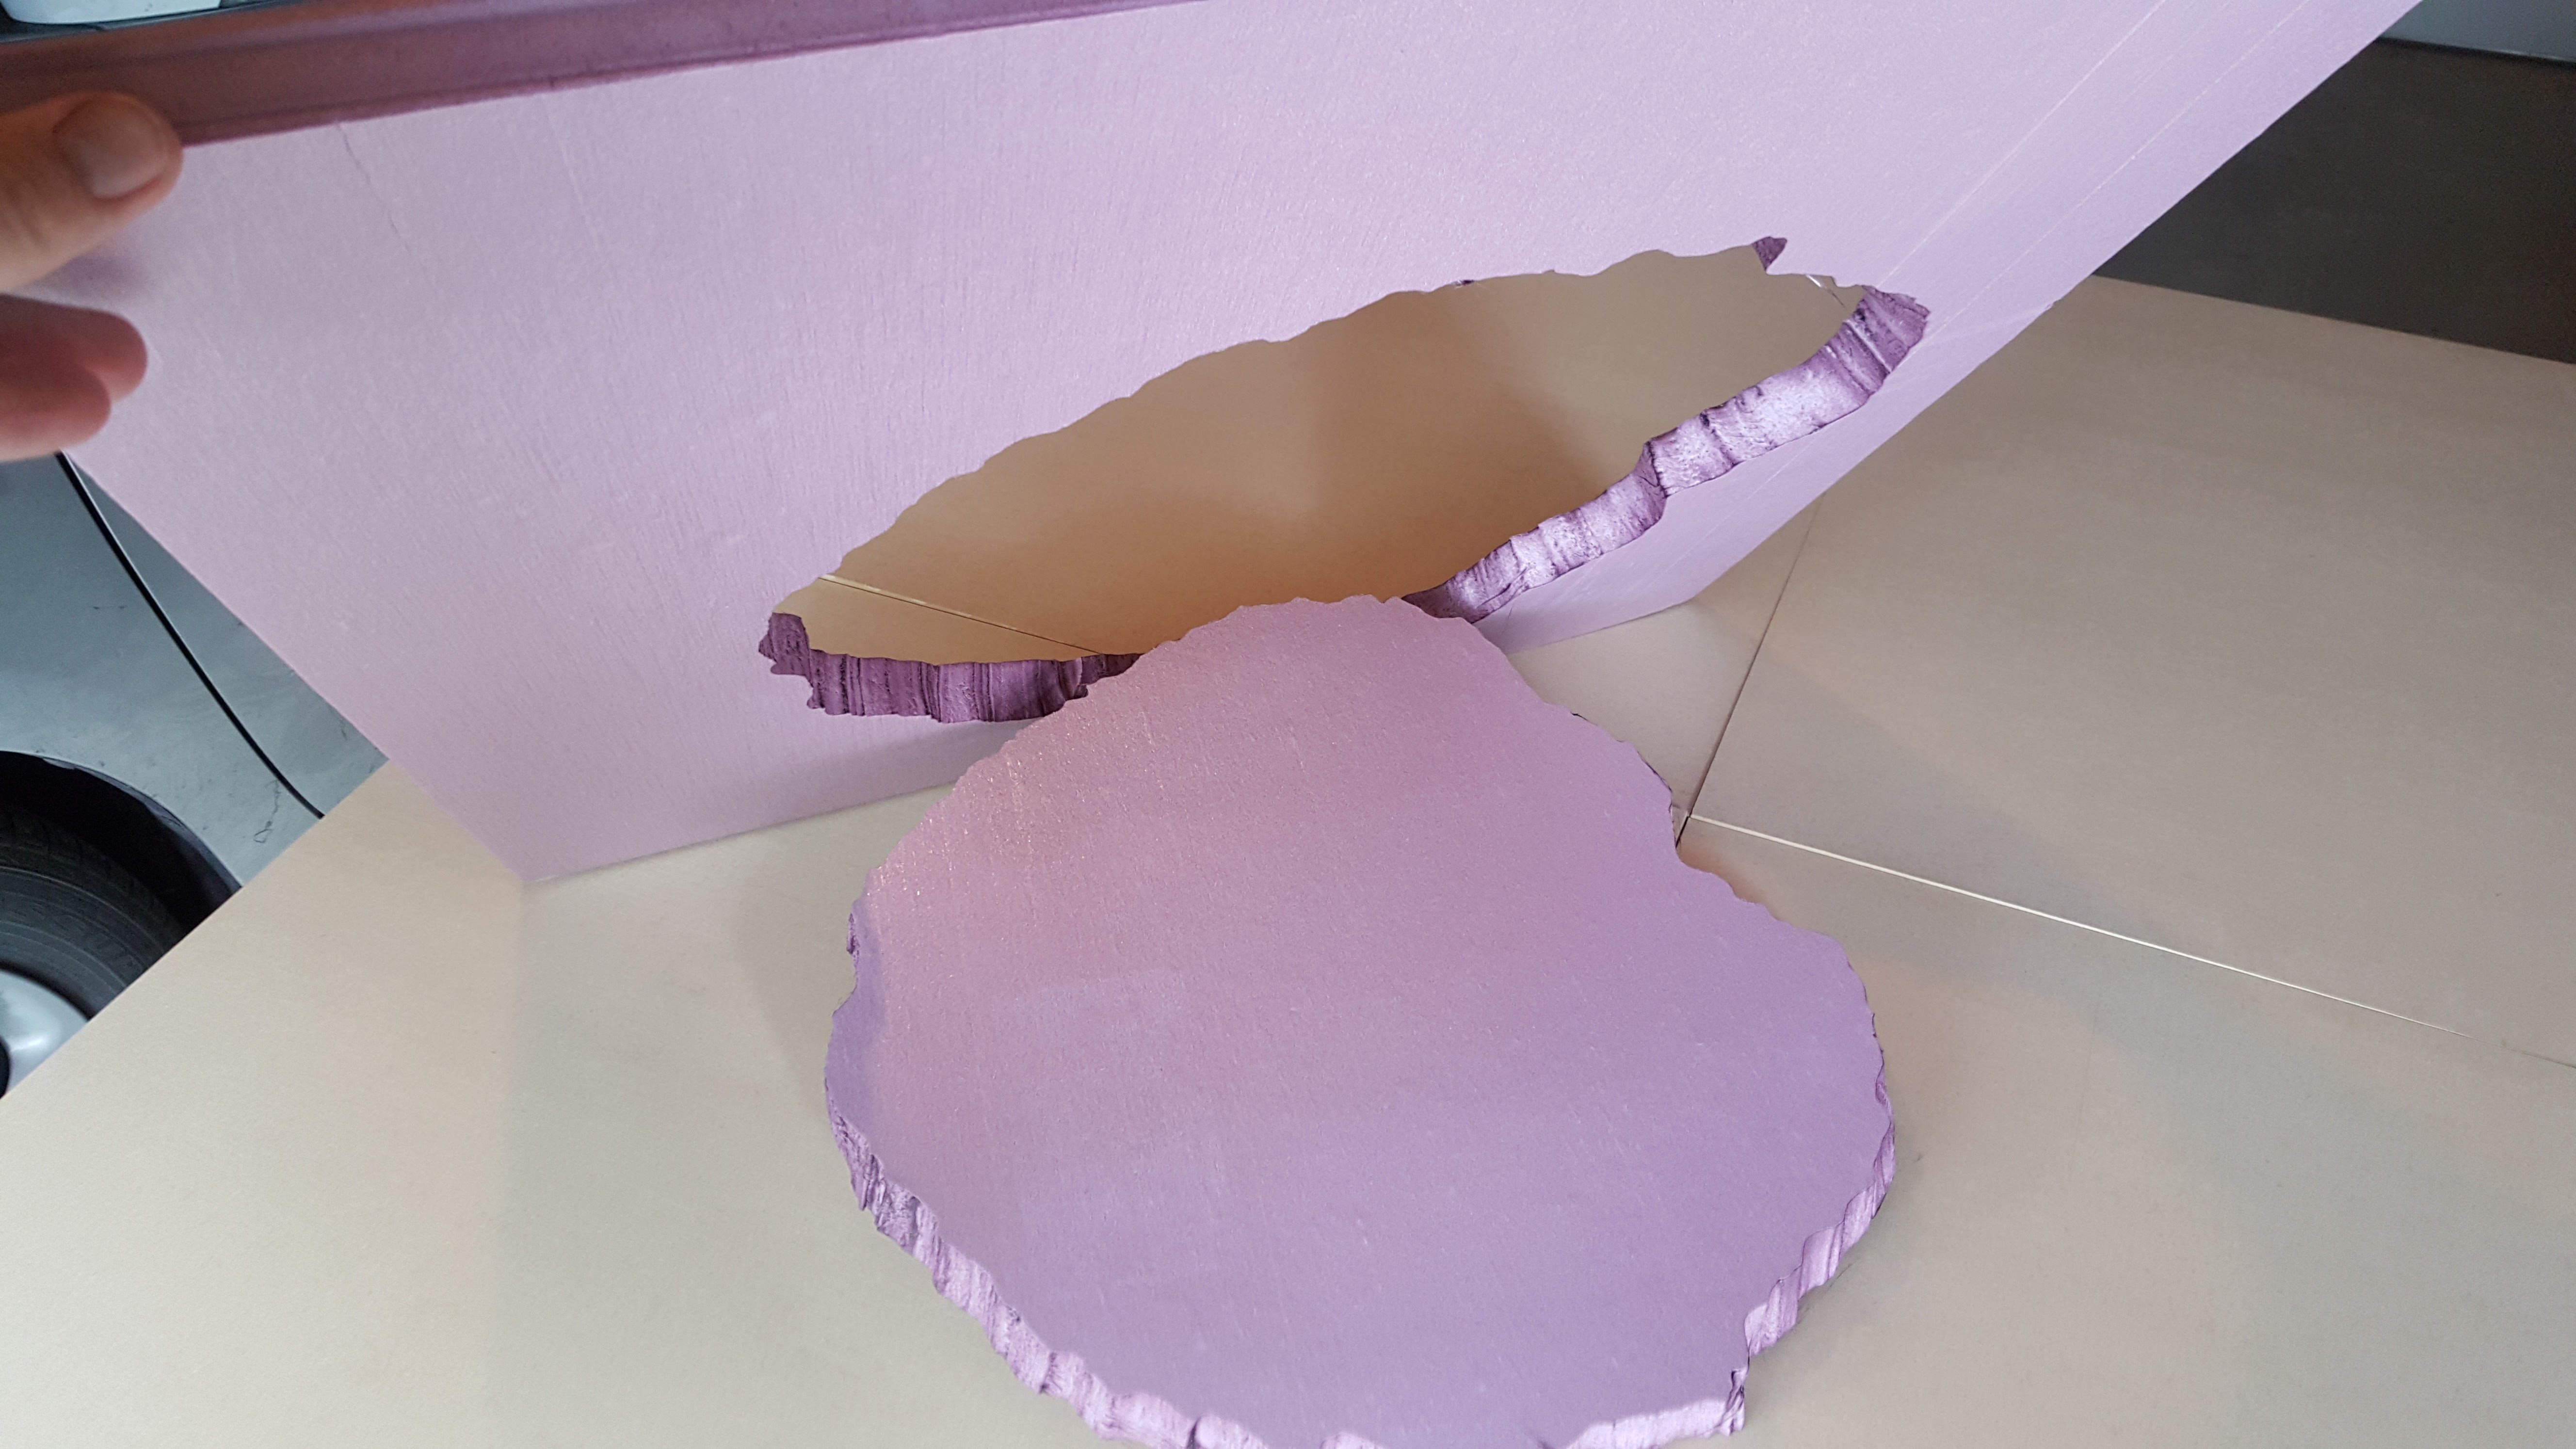
You’ll also want some “pink foam”. I got this from home depot too. Go for the 2 inch thickness. Prices vary here but it wasn’t too much. For the whole board it was probably $15-20 cost.
*note, if you prefer, you could skip the MDF entirely and use all pink foam. This makes for a lighter board and you can really carve up the landscape and make rolling hills, etc. Get creative.

*note, sometime the pink foam is blue


Step One:


Step Four:
Paint it up and you’re done!
Base Coat
Don’t use your expensive paints here, you’ll need a lot of it.


Wash
Dilute some darker colored paint and let is pool in the recesses.

Dry Brush and Optionally Add Flock
mix up some lighter colored paint. Use the same color base coat and mix in some white. Then dip the tip of your brush in the paint and then brush some cardboard or paper towel until its dry and theres barely any paint on the brush. Then brush the board in different directions to highlight the edges and peaks of the plaster.

If you are going to flock, spread PVA glue all over or use a spray bottle (like an old windex bottle) to lightly coat the surface. Then sprinkle on your flock. Then spray with glue again over top. This helps keep the flock from falling off and addes a protective coating to the board.
You could also apply a spray matte varnish over top at the end too if you think you’ll be rough on your board and want that extra layer of protection.


Once the glue drys, it looks normal. Don’t worry the glue will dry clear.


Optional Step Five:
Make some scatter terrain with the same concepts as above. Make sure to try and match it to your new board as closely as you can so it all looks like it goes together.


Now Go Enjoy your new custom wargaming board.


This technique can be used to make all kinds of boards. I made my daughter boards for her Moana and Frozen toys and she loves it.


Extra Tip:
Save some space and pick up some low cost wall hooks and hang the boards on the wall


Verdict:
This is a low cost option to more expensive modular tabletop wargaming boards on the market. It means you’ll have a one-of-a-kind board and your friends will be impressed. It may take a whole weekend or more to finish but most of that time is waiting for things to dry. Let us know if you have made modular terrain boards yourself and how it went.
2 comments